|
The Portrait lighting workshop was a great night. Many thanks to John and his models and helpers for organising and running a very informative workshop.
0 Comments
The Club is in the process of making two roll up banners to display when we have exhibitions and we need photos for the design. Below are the two proposed layouts for the banners. Each banner has room for 5 images. You can submit your photos using the form below. Entries close midnight 30th April.
Jeff Jones is one of our prolific landscape photographers. He loves his long exposure beach landscapes and does some amazing work. Here Jeff explains the settings he uses to achieve these images and the reasons behind it. If you want to see more of Jeff's work follow him on Facebook at Jeff Jones Photographics 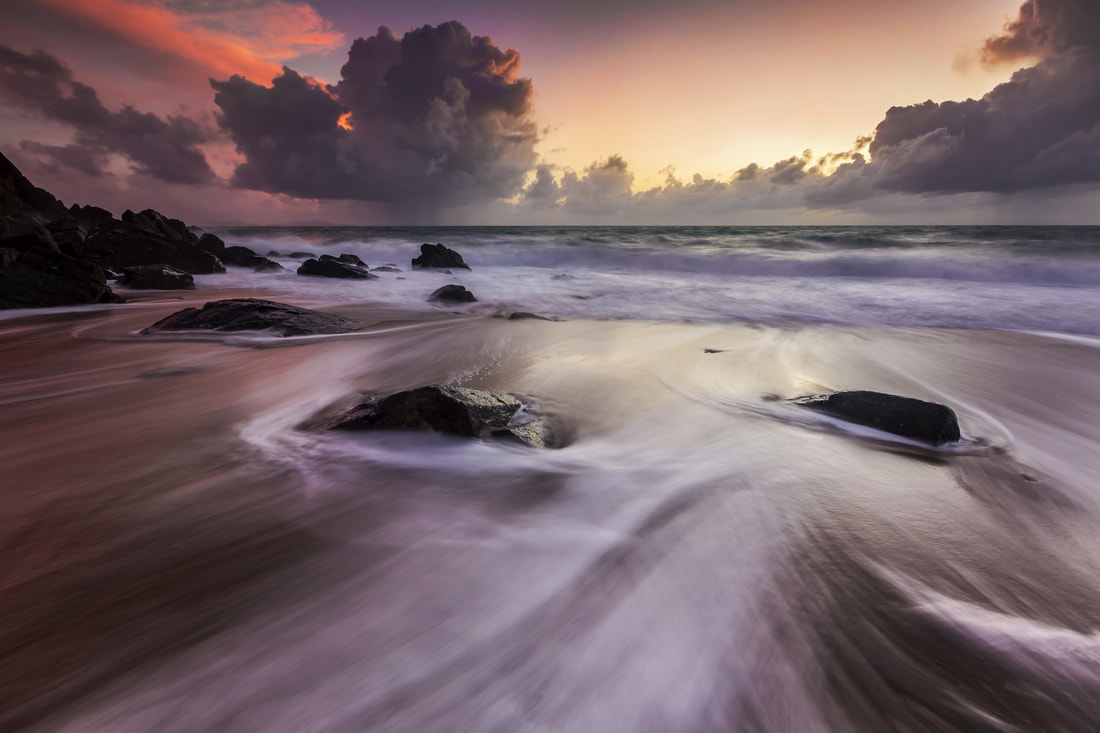 "Australia Day", F11, 2 seconds, ISO 50. One of my first on Australia day, hence the low light. A medium to small aperture allowed the exposure to go to two seconds at ISO 50 and also helped to give a reasonable amount of DOF (depth of field) in focus.  "Lamberts Beach Sunrise", F11, 241 seconds, ISO 50 My aim with this exposure was to create a nice streaking of clouds and to smooth out the water, giving the image a sort of ethereal look. The smooth water also has the added bonus of giving a nice reflection of the colours in the sky. To keep the shutter open for 241 seconds required the use of a Big Stopper or ten stops of exposure. I also use a graduated neutral density filter in front of the stopper to lessen the contrast between the darker foreground and the brighter sky. 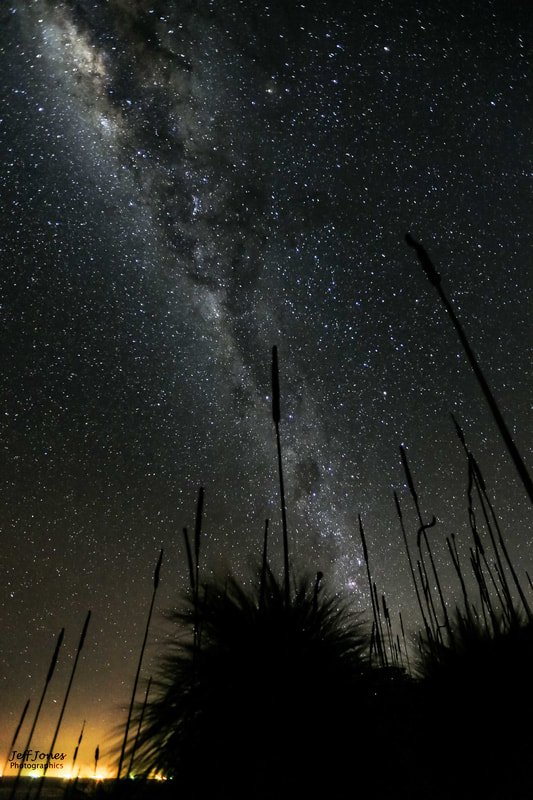 "Reach for the Stars", F2.8, 20 seconds, ISO 1000 Taken on Keswick Island on a clear dark moonless night. Twenty or twenty five seconds is about the maximum exposure time before the stars start to leave a trail. Wide open aperture and as with the previous long exposures manual focus and a sturdy tripod are paramount. You can use live view magnified to adjust the focus or you can turn the focus ring all the way and just back it off a smidgin. 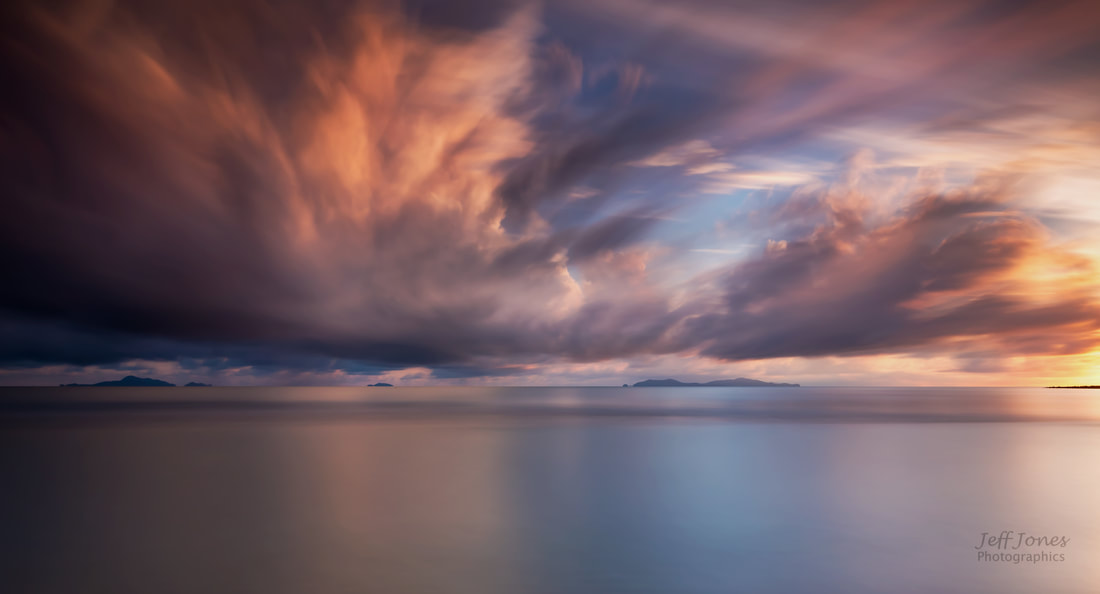 “Colour Me Crazy”, F16, 481 seconds, ISO 50 I forgot to mention that with exposures over 30 seconds you must use your cameras “Bulb” mode, to do this it is imperative to have either a battery operated remote release or a simple cable release which I use. Again the Big Stopper was needed to keep the shutter open for that length of time. 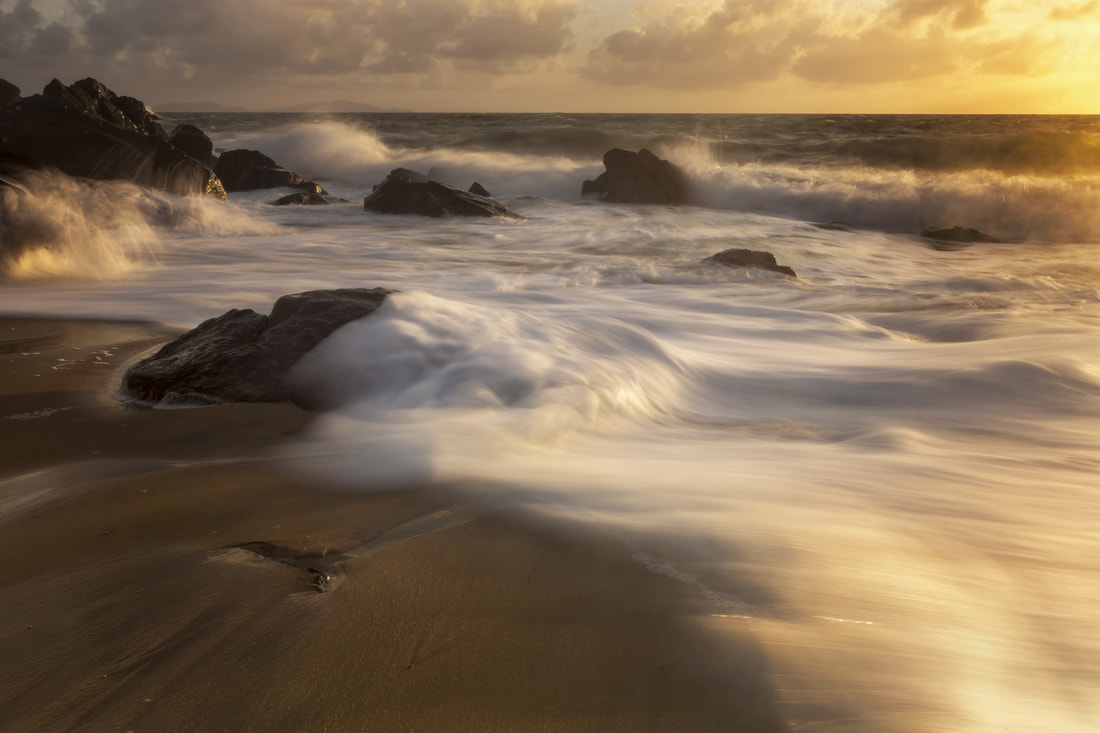 “Lammo”, F16, 0.4 second and ISO 50 To capture the swirls and shapes in the waves it is nearly the opposite of a long exposure. Still on ISO 50 to ensure the minimum of “Noise”, the aperture setting of F16 was perfect to deliver a .4 of a second exposure, the rising tide and blowy conditions meant that the water was rushing in quite fast so .4 was all that was needed. Had the conditions been a lot calmer I would have pushed the exposure to about .8 to 1.5 seconds to capture some movement. 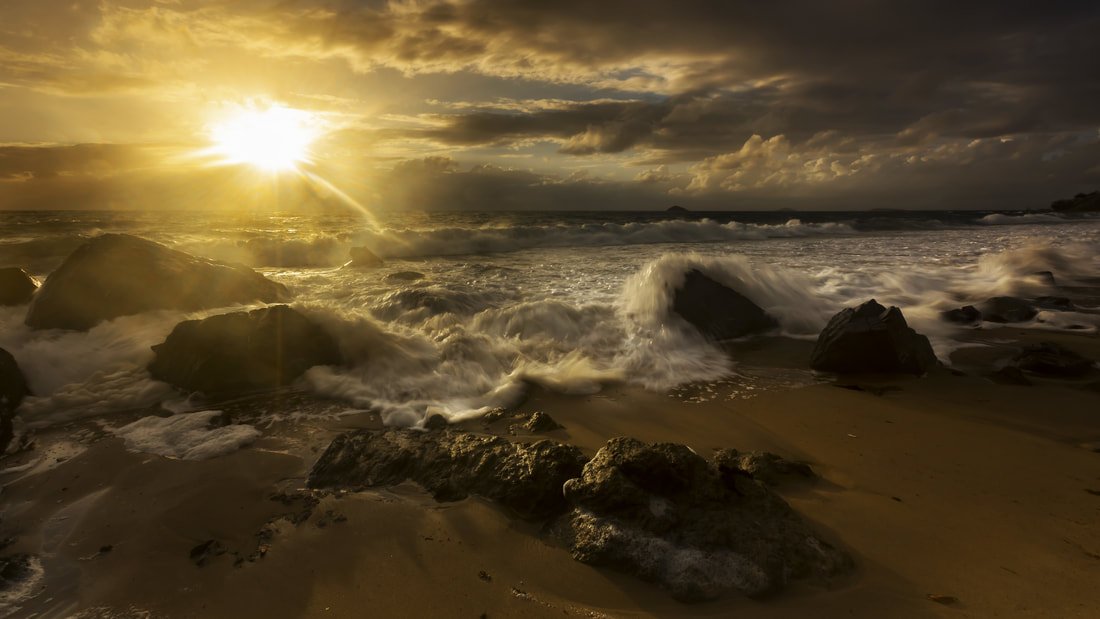 “Light Me Up”. F18, 1/15th of a second .67 underexposed to try and tame the sun a little and once again ISO 50. As you can see the sun was smack bang in the frame and was delivering beautiful golden light. The sea really was quite lively and the wind around twenty knots so even at 1/15th of a second I was still able to capture some movement.  “Burleigh Heads”, F20, 1/8th of a second and ISO 50
This in the middle of the afternoon with people all over the place, in the water and on the beach, not to my liking… So a panning shot like this can deliver very pleasing results without the clutter, there is colour, there is contrast, there is form and movement and there is an air of mystery as to where the shot might have been taken. Something like this could hang on a motel wall in Waikiki, Burleigh Heads where this was taken or in Melbourne, it wouldn’t matter! |
Image Credit: Close Up - Caine Batley - B Grade
Workshop NotesIf there is a workshop on this is where you will find the notes. 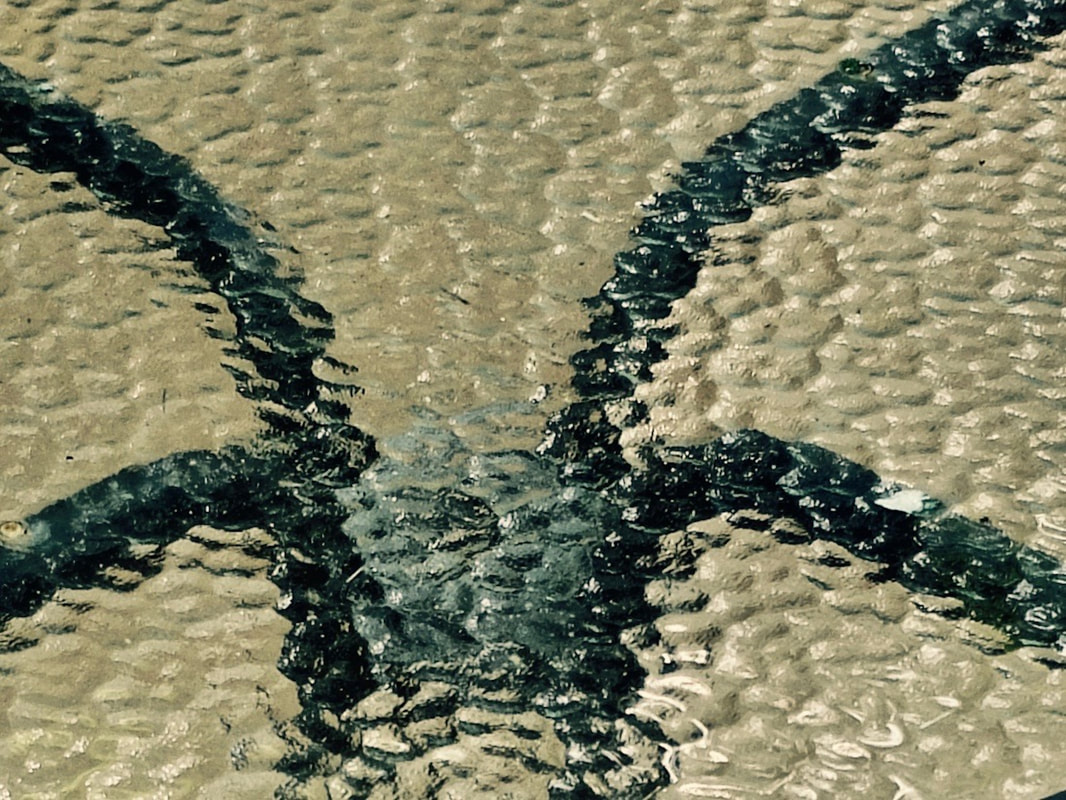
Glass Table Beastie by John Pickup- A Grade
Archives
June 2022
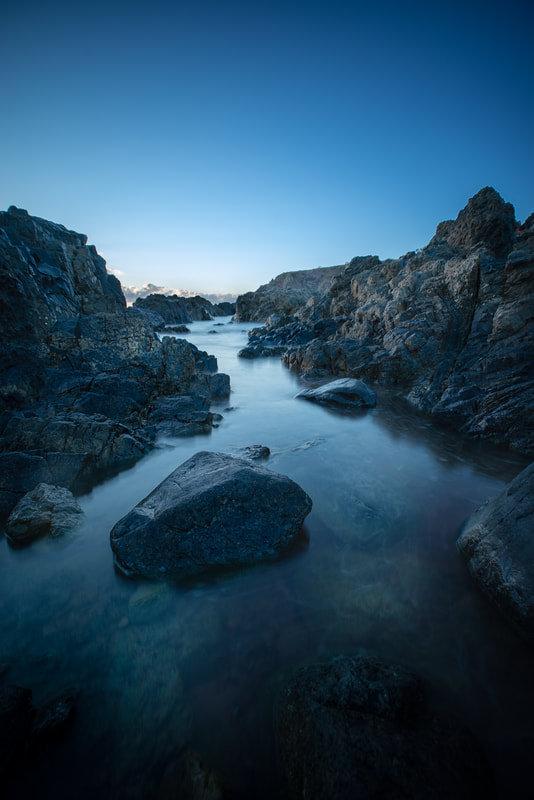
Ocean River by David Blackburn - A Grade
Categories |


 RSS Feed
|
Meetings: 7 pm, First Thursday of each month except Jan
Workshops: 7 pm, Third Thursday of each month except Jan Location: Jubilee Community Centre, "Sarina Meeting Room" Gordon Street, Mackay QLD 4740 © COPYRIGHT 2018. ALL RIGHTS RESERVED.
|